The site link feature of our app is commonly installed on our merchant’s login page for their customers to see prior to trying to log in to a newly migrated store. Your customers will need to activate their accounts before they can login.
Here is the step-by-step process to installing this link on your store’s login page.
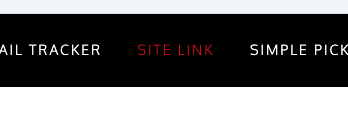
Step 1. Visit the Site Link tab in the WOTIO app.
Step 1. Visit the Site Link tab in the WOTIO app.
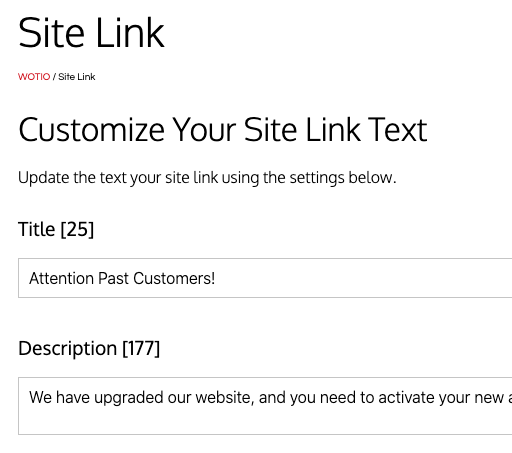
Step 2. Edit the text you want to display along with your activation link. Make sure you put text in each field.
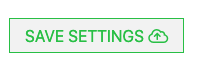
Step 3. Click the ‘Save Settings’ button at the bottom of the page.
Step 3. Click the ‘Save Settings’ button at the bottom of the page.
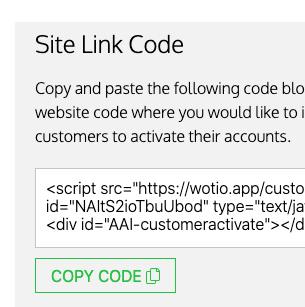
Step 4. Copy the custom code block for your site link.
Step 4. Copy the custom code block for your site link.
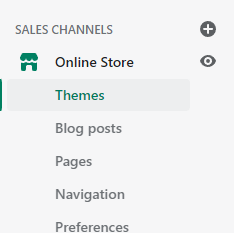
Step 5. Navigate to the Online Store > Themes section of the Shopify admin.
Step 5. Navigate to the Online Store > Themes section of the Shopify admin.
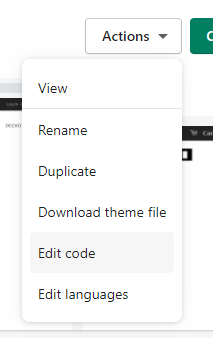
Step 6. Using the ‘Actions’ menu, select ‘Edit Code’.
Step 6. Using the ‘Actions’ menu, select ‘Edit Code’.
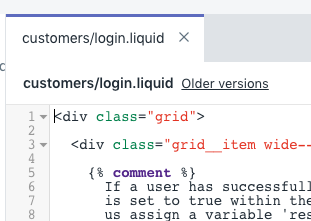
Step 7. Find your ‘customers/login.liquid’ file under the Templates section, and click it to edit it.
Step 7. Find your ‘customers/login.liquid’ file under the Templates section, and click it to edit it.
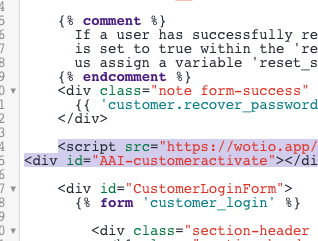
Step 8. Locate the place in your code that is appropriate to display your site link, and paste your code block.
Step 8. Locate the place in your code that is appropriate to display your site link, and paste your code block.
Every site is different, and this might take some trial and error finding the right placement if you aren’t comfortable editing code. Pasting it right above the login form usually works well.
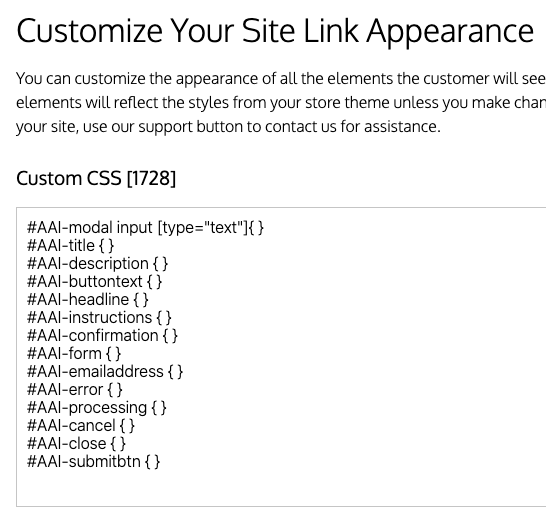
Step 9. Visit your login page to check the placement of your site link, and make adjustments if needed for fonts and spacing by using custom CSS in the WOTIO app. Visit the site link tab and scroll down to the custom CSS section to make any updates.
Step 9. Visit your login page to check the placement of your site link, and make adjustments if needed for fonts and spacing by using custom CSS in the WOTIO app. Visit the site link tab and scroll down to the custom CSS section to make any updates.
That’s it! If you need assistance with this process, please reach out to support through the WOTIO website, and we’d be glad to help.
That’s it! If you need assistance with this process, please reach out to support through the WOTIO website, and we’d be glad to help.