Support / Shopify App / Bulk Invites
Create a customer segment for targeted bulk invites
Shopify lets you filter your customer list by any combination of parameters and save that filtered list as a customer segment. WOTIO reads those same segments, so you can point a bulk account invite at exactly the group you want. Here’s how to build one.
8 steps · Est. 5 minutes
Step 01
Open your Shopify customer admin
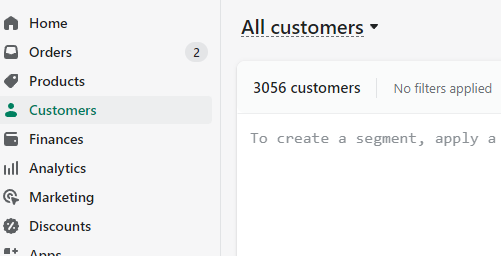
From your Shopify admin, navigate to the Customers section.
Step 02
Filter down to the customers you want
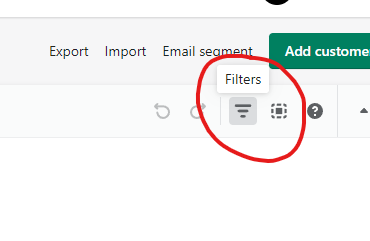
Use the filter menu to narrow your list — by tag, by marketing consent, by whether they already have an account, or any combination. Stack as many filters as you need to refine the group.
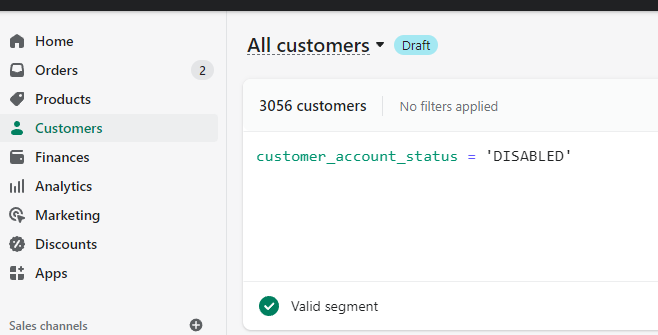
To find every customer who doesn’t yet have an account, enter the following:
Important
Targeted bulk invites send to whoever is in your segment — full stop. WOTIO’s GDPR settings are not enforced on targeted sends, so if you don’t want to contact customers who haven’t accepted email marketing, exclude them at the filter stage.
Step 03
Apply your filters
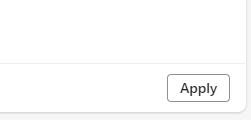
Click Apply, then scan the resulting list and confirm it matches what you intended to capture.
Step 04
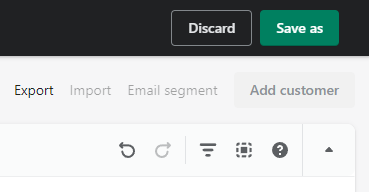
Click “Save As”
You’ll find the button in the top right corner of the customer list.
Step 05
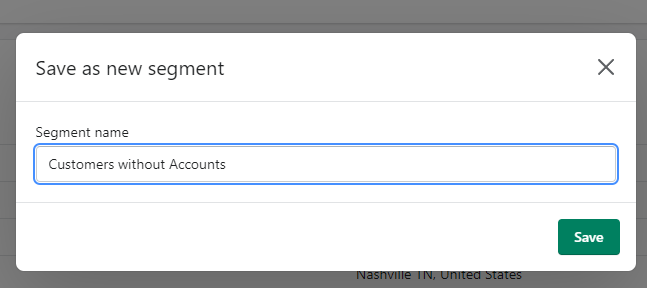
Name and save the segment
Give it a name you’ll recognize later in the WOTIO dropdown, then click Save.
Step 06 · In WOTIO
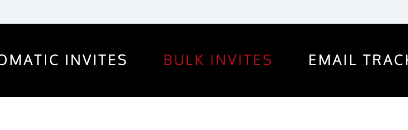
Open Bulk Invites
Head back to Apps > WOTIO and select the Bulk Invites link.
Step 07 · In WOTIO
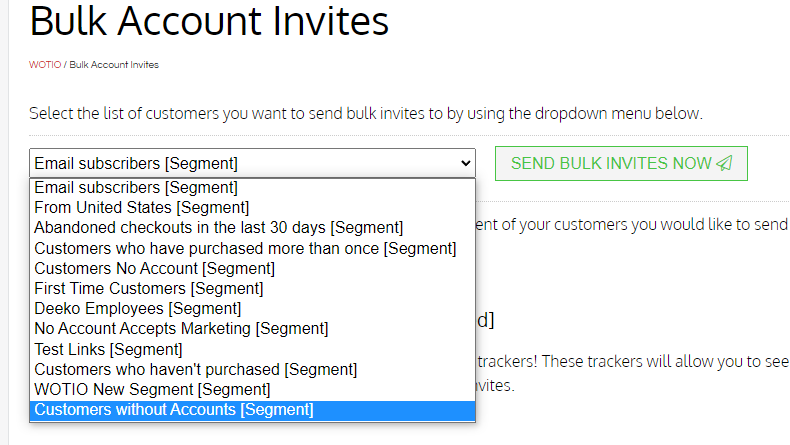
Select your segment and send
Choose the new segment from the selection list, then click Send Bulk Invites Now.
Step 08 · In WOTIO
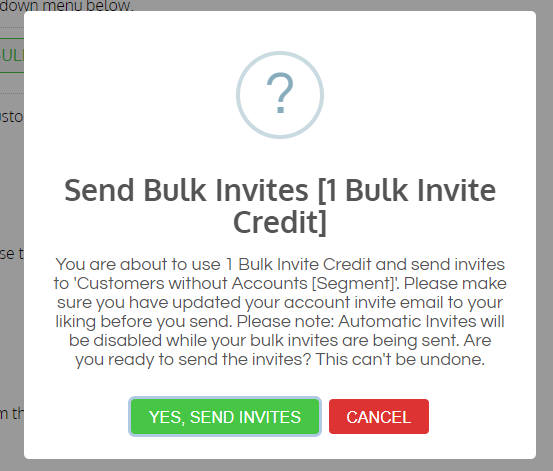
Confirm the send
Click Yes, Send Invites to deploy.
Done
Your invites are queued and will deploy to the customers in your new segment.
Related
For more on managing and segmenting customers, see the official Shopify documentation.
Still stuck?
Open a ticket and we’ll take a look at your store setup directly.